
Watch the video
Important tagDiv Composer Notes
- The tagDiv Composer is a required plugin for the proper functionality of the theme so it must be activated after each theme install or update.
- Please do not use both the tagDiv Composer and other page builders such as the WordPress editor or WPBakery page builder simultaneously on the same page.
- Please do not edit with tagDiv Composer a page that was originally created with WPBakery or other page builders.
- If you want to transition between the two builders, please follow this guide.
- Please note that you can edit with tagDiv Composer, only the Cloud Templates.
- When you create pages with our theme we recommend using our custom-made page builder called the tagDiv Composer. This handcrafted page builder for the frontend comes with a drag and drop functionality.


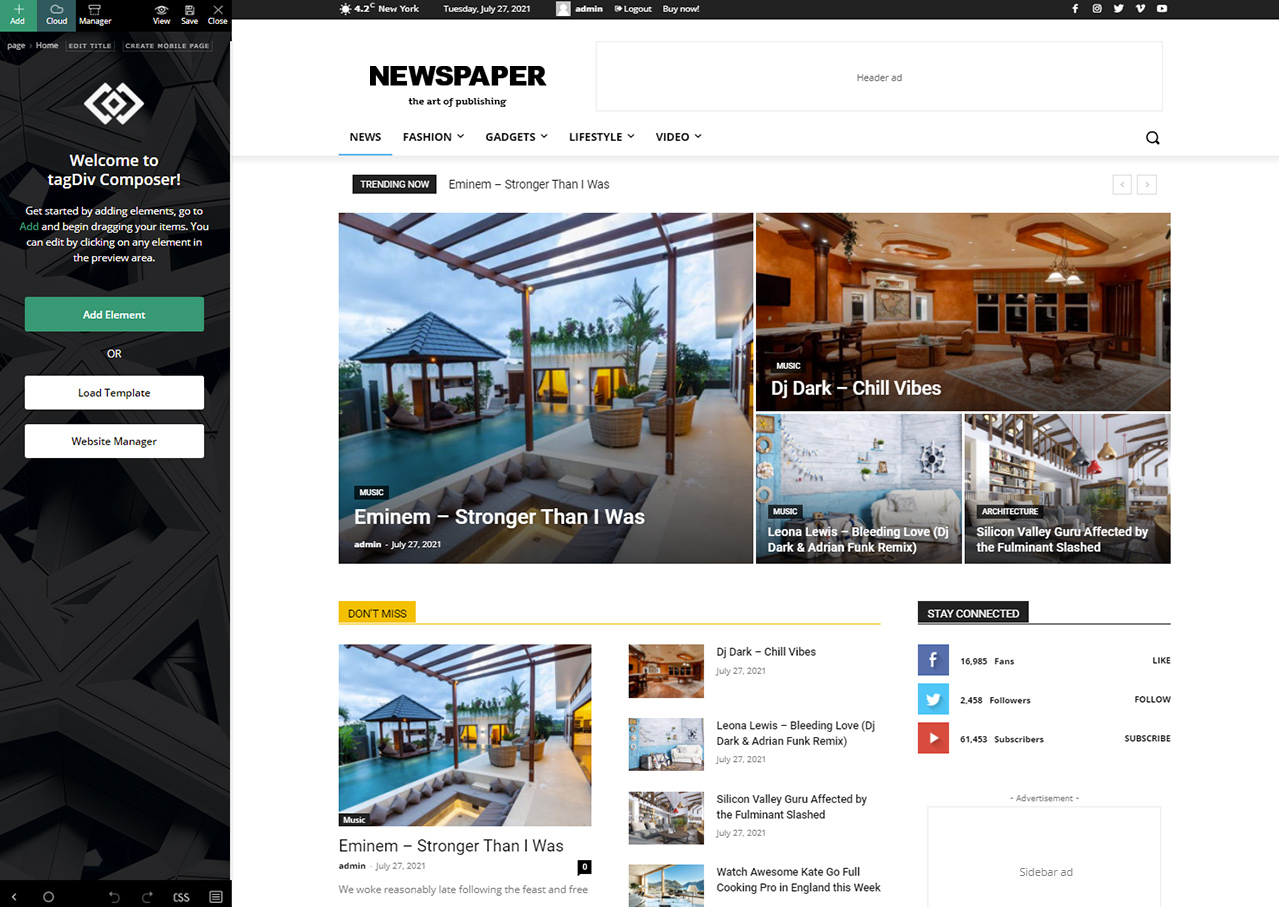
- You will see a front-end preview of your page and the tagDiv Composer on the left of the screen. In this welcome screen, you can see two additional options apart from the page builder functionality. They let you choose the page template and the header style you want.
- The page builder has a top control section that offers the following options: Add Element, View Page, Save Changes and the Close button.

You can drag and drop each and every one of these elements to create the layout you desire.
- You must first start with a row as the tagDiv Composer works with rows and columns. You can add a row simply by dragging the row icon in the empty space on the page.
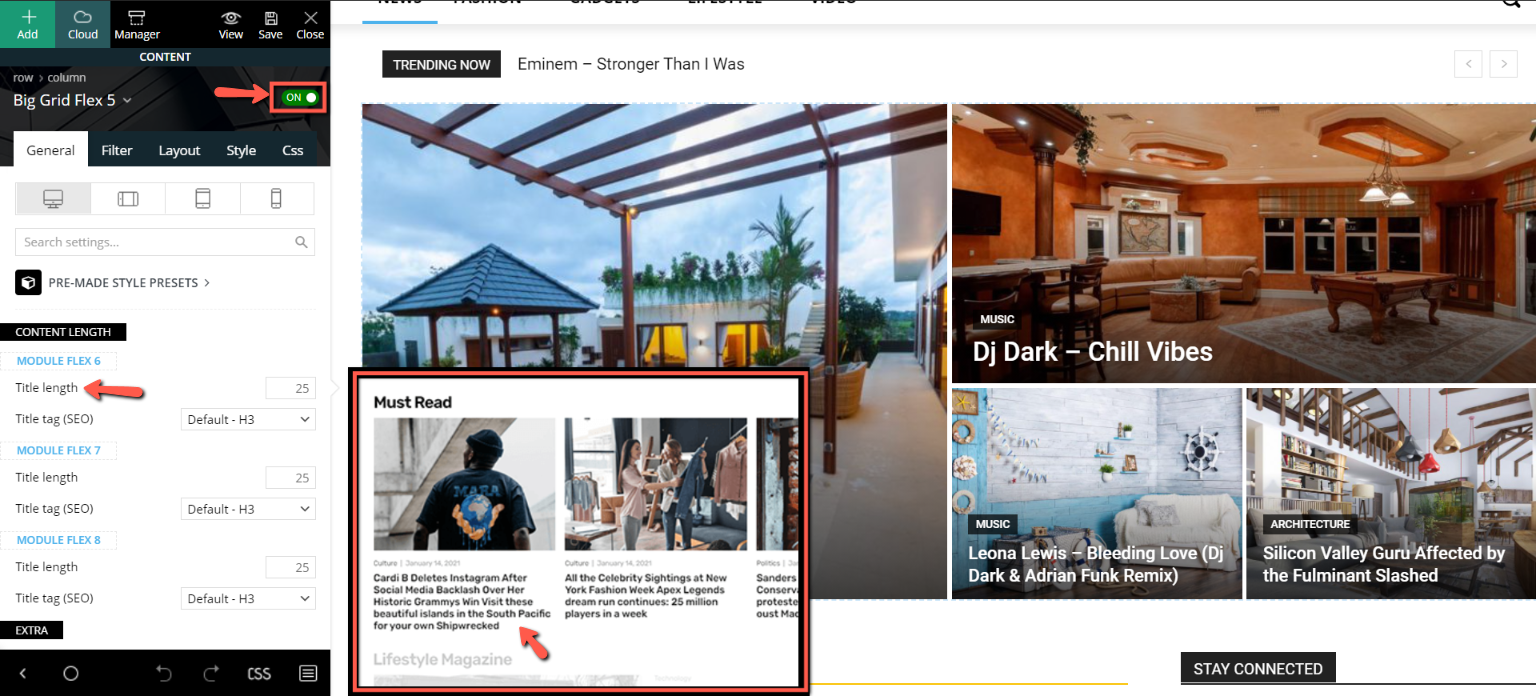
- Once drag into the page, if you click the element, a settings panel will open on the left side of the screen. This functionality applies to every content or structural element, not just rows.
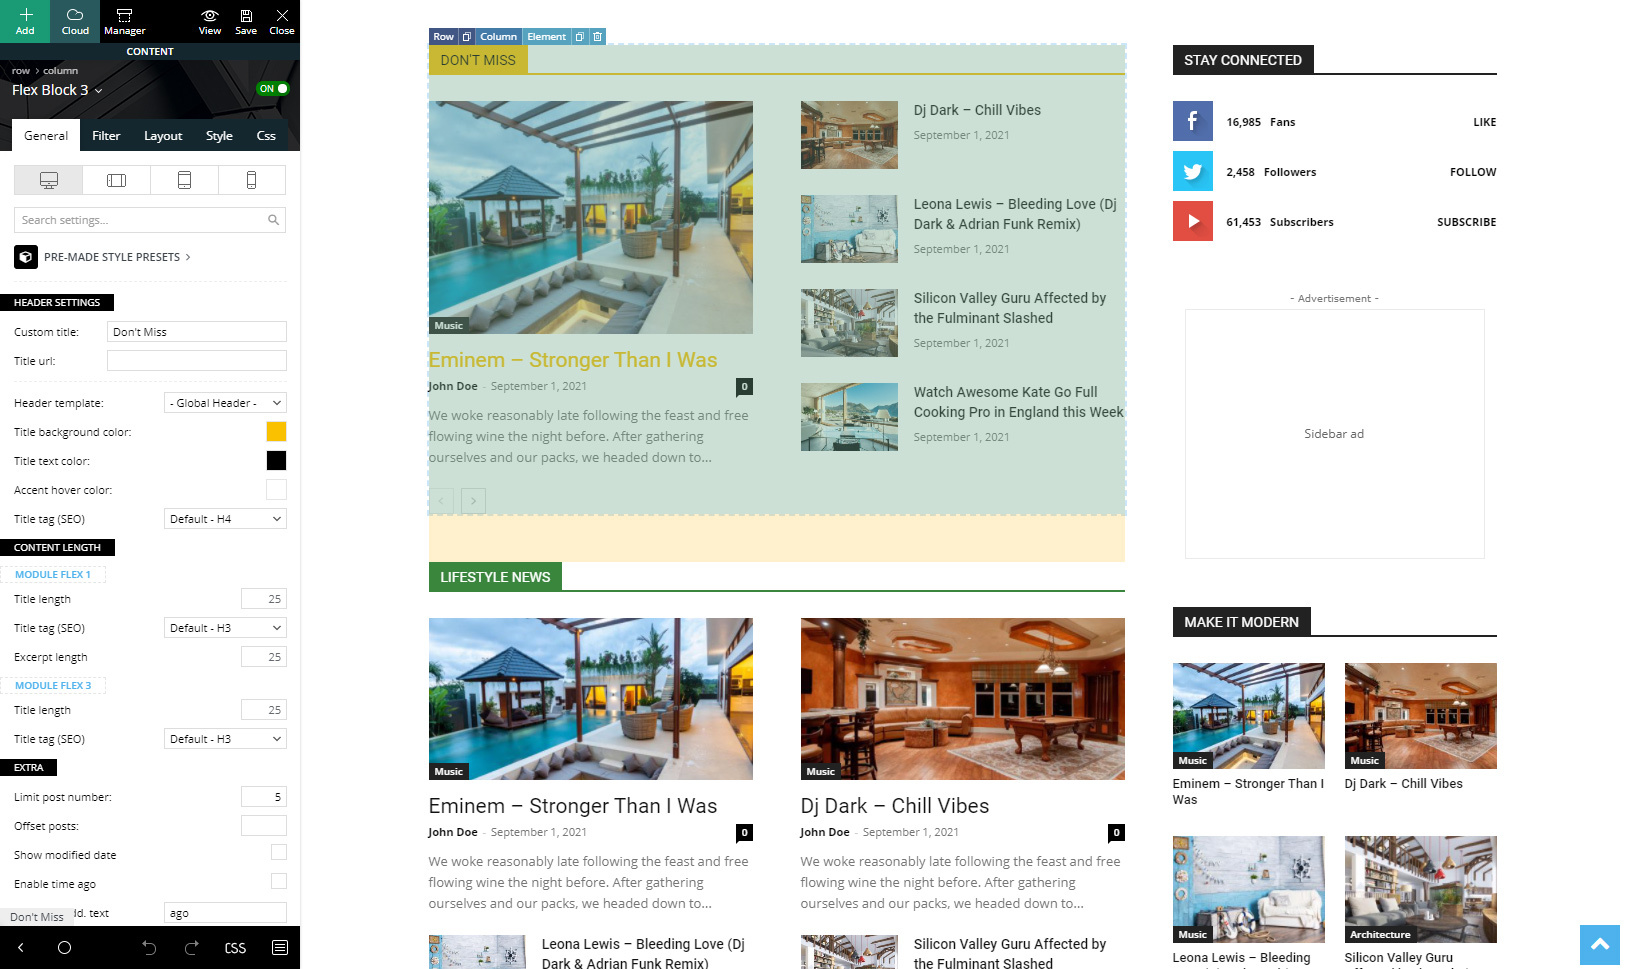
For an extra help in the tagDiv Composer page builder, you can enable/disable the video tooltips on the shortcodes options. You need just to hover the setting you do not understand and the video will appear next to it and automatically play and indicates what the setting does.
The row
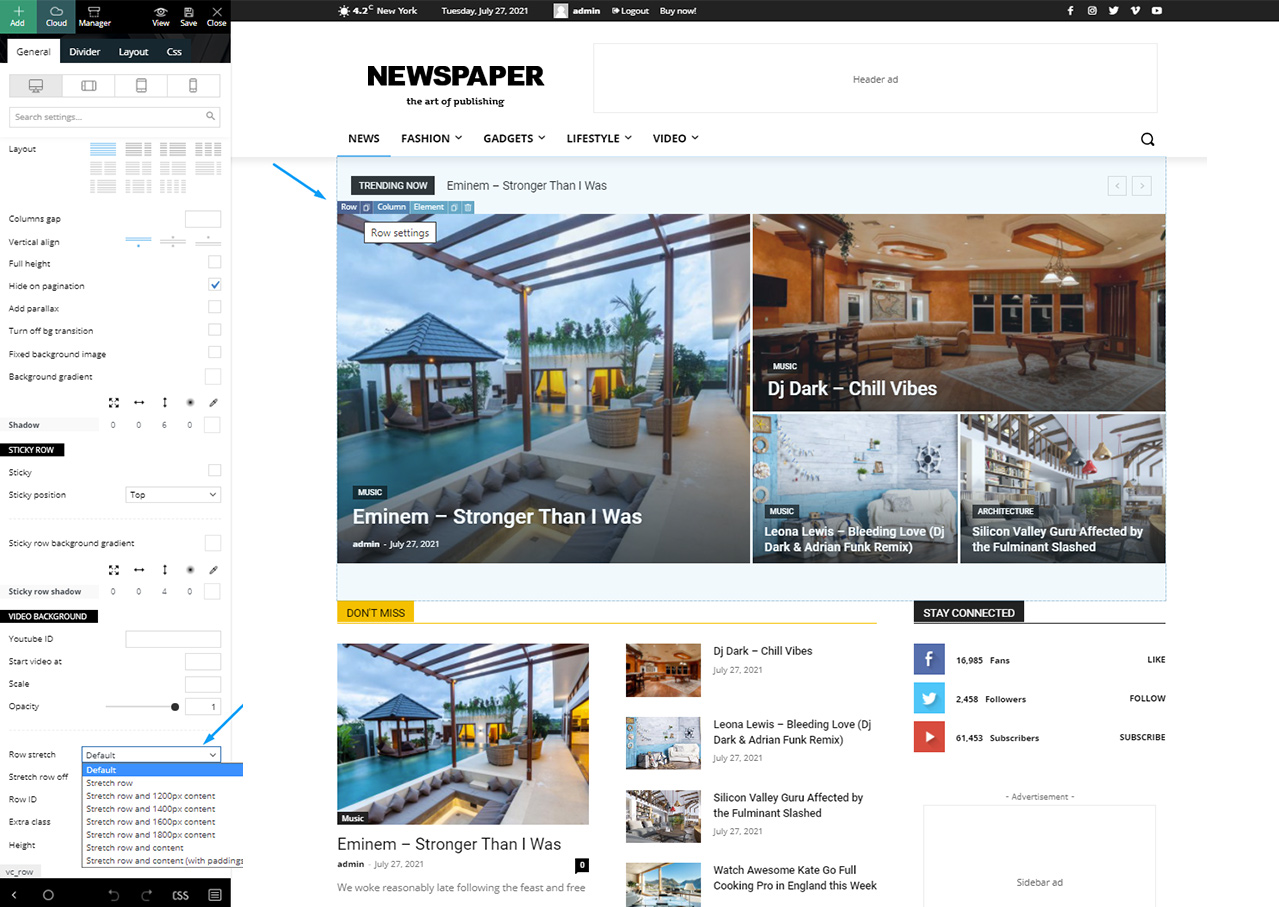
- Rows have two special section designed to help you create layouts. After you dropped the element on the page, in the top left corner, you can access the row settings or column configuration:
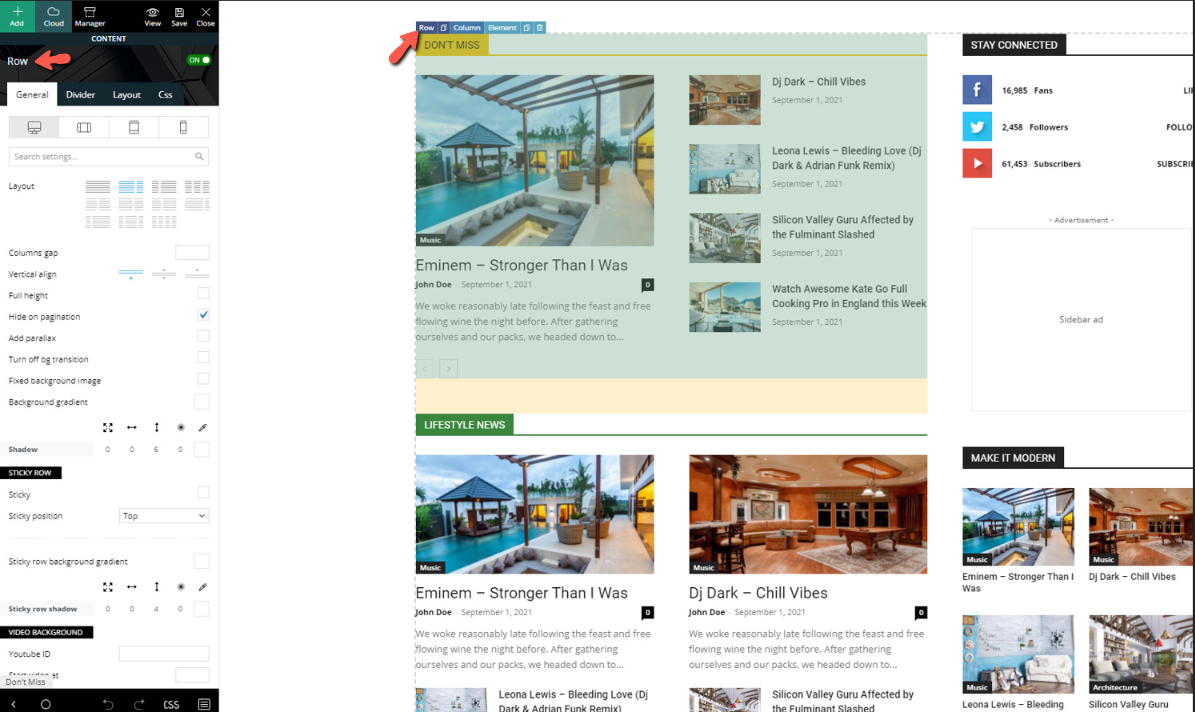
- The row settings allow you to select the layout of the row meaning you can have a set number of columns in different styles.
- The General row settings also include a column gap, alignment, background, YouTube video background, opacity, and the stretch row option.
- The General tab also includes the viewport options which allow
 you to set options based on the user device. Use this to have separate settings for each device selected.
 - The second tab called Divider, that is placed under the row settings allows you to place dividers between rows in unique styles. You can select the type of divider for the top or bottom of the row, and you can adjust their width, height, colors, shadows and so much more.
- The Layout tab helps you create advanced layouts and position the columns inside of the row based on your preference. These settings are for advanced users who know how to manipulate the rows and columns already but need a bit more customization to this process.
- The CSS tab is an essential part of the page builder as it allows you to change the position of the row and adjust the margin, padding, and border for your rows.
- You can also set background images or colors, shadow, color overlay as well as hide a particular row for specific viewports. Use this to show or hide a specific element on a particular device.
- You can add the different blocks either directly inside a row or inside an inner row if you want to create a more complex structure.
- Each block has its own settings presented in the Block Settings Guide
- Once you add a block to the row/column of your choice, you’ll see it live. This means you can see the actual content live. Changing its settings also changes the live representation of the page making it easier to see what every setting does.
- Deleting an element is similar to removing a row. Simply drag the element to the bottom right of the screen or just hit the delete icon found on the top right of the block element.
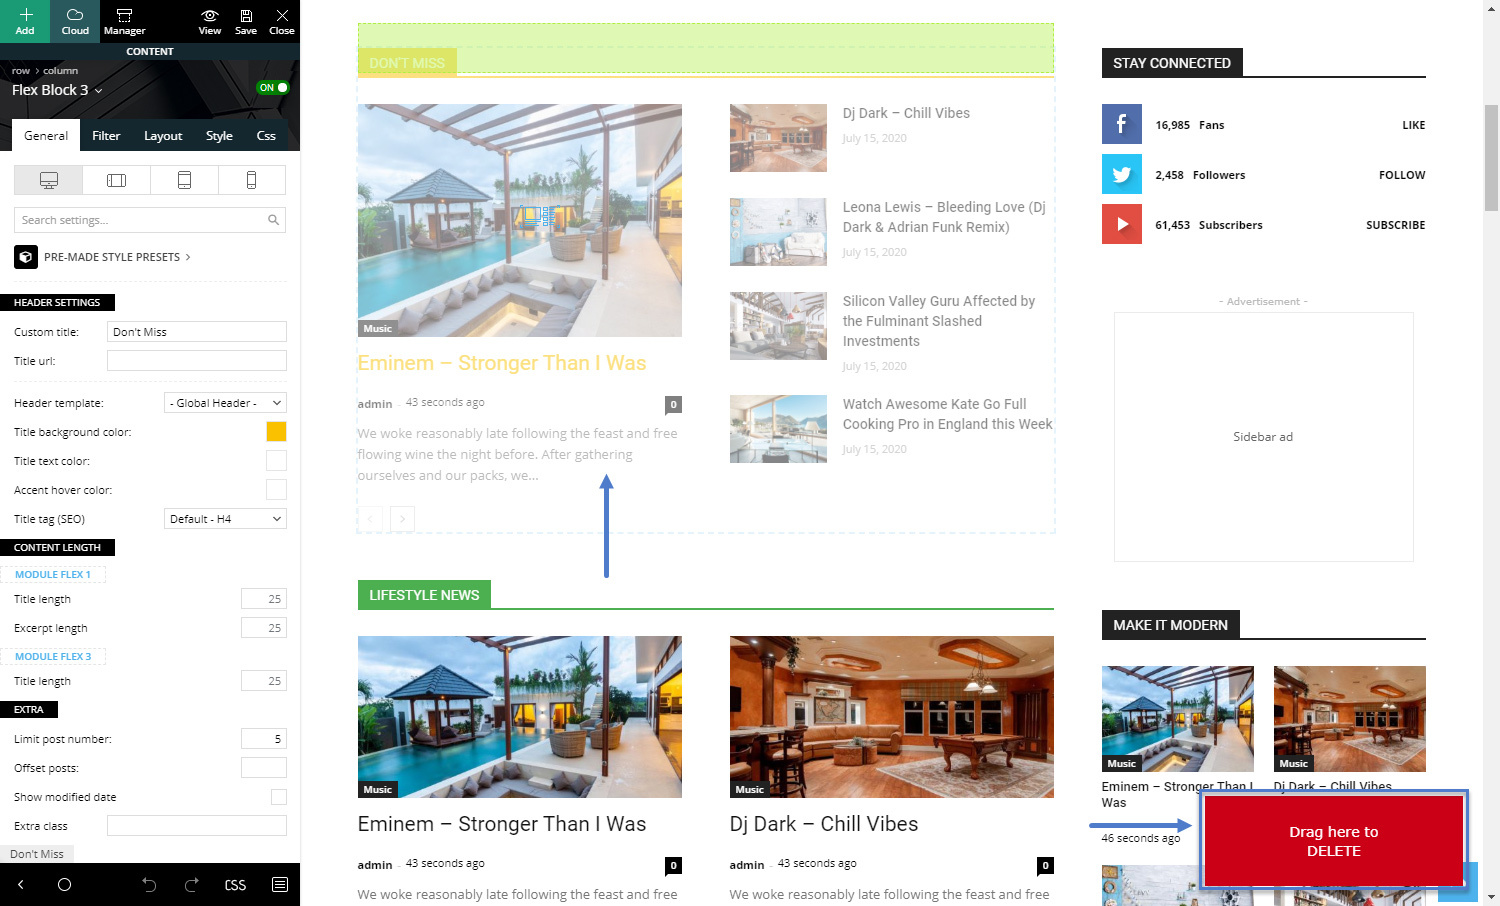
Delete elements
- If you want to delete a row or element, you can grab it from the top left “Row” button.
- Drag it to the bottom right of the screen in the Drag here to DELETE box, or select the row and press the delete button on your keyboard, then with your mouse select “YES”.
- You can also use the right-click menu, where you have access to different commands including the delete option.
Inner row
- The row can also be structured in a sub-division called an inner row if you want to create a more complex structure of rows and columns for better control over your content.
Block Elements
- Block elements are the content elements you should use to present your content inside the rows.
- Once you add a block to the row/column of your choice, you can see the actual content rendered live.
- Changing its settings also changes the live representation of the page making it easier to see what every setting does.
- Deleting an element is similar to removing a row. Merely drag the element to the bottom right of the screen or just hit the delete icon found on the top right of the block element.
VERY IMPORTANT: Shortcodes and ads are not rendered in the live preview of the composer screen so, to see them applied to your page, you have to press the save button and view the page itself on the front-end.
Full Width Content
- The stretch row option allows you to change the row width to different sizes making your content full width or a fixed width selected from the available row sizes.
Homepage
By default, WordPress sets the blog page as the main page, and this isn’t what most of us want, as sometimes we need custom pages. To change WordPress default settings, you have to:
- Step 1 – Create a new page, go to Pages > Add New
- Step 2 – Set the page title, configure the page by editing it with the front-end tagDiv Composer. Add the desired elements and select the desired page template.
- Step 3 – Go to Settings > Reading and set the newly created page as a homepage.