
Available on: Newspaper V6.4+
 Welcome to one of our newest woo plugins, the tagDiv Invoice 1.0 plugin!
It should help you in your day by day e-commerce activity, generating your invoices and offering you an easy way for having a fully customizable invoice layout.
For a successful activation and utilization, the following checkpoints have to be passed, as follows :
- The WooCommerce plugin must be activated first.
- The version number of the Aurora API (from the tagDiv active theme) and the version plugin number, must be the same.
- The user must have special permissions (admin or shop_manager).
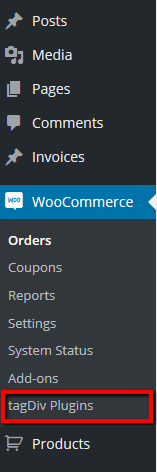
Where can I find it?
If all of them are passed, the plugin is ready to be used, being installed into the tagDiv Plugins woocommerce section.
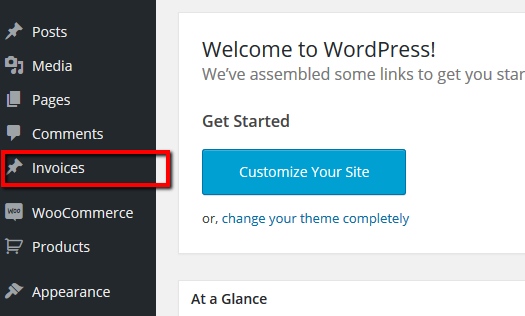
Invoices CPT
Once the plugin is activated, the Invoices custom post type are added into the Admin Panel, and there the system saves all generated invoices for further management.
There you’ll have all your invoices, named using a compound string: the invoice generated number, the order number and the date when the invoice was generated/last regenerated.
We have chosen this naming format to help you looking for a desired one, when you know just a summary information (ex. part of the invoice number).

Using the To Order link you’ll be able to navigate to the corresponding order.
Generating invoices
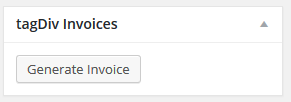
But, let’s see how to generate an invoice.
First of all, open an existing order or try to create one. The tagDiv Invoice plugin will show you on the right metabox panels, a custom box like this
Once the invoice is generated, the panel will show like this
You’ll be able to see the generated invoice in accordance with the last saved information of the current order , or just to regenerate it, if you have just modified the order and want these information being reflected into the invoice.
Important! Regenerating an invoice, the preexisted invoice data are overwritten, so further invoice reading will get you the last saved information.
Printing the invoice
The invoice will be rendered to you into a new tab browser, for easy customization its content being built in plain html format, using a plugin template file (../td-woo-invoice/templates/template.php). Any changes, made there, will be visible in your invoice viewing template.
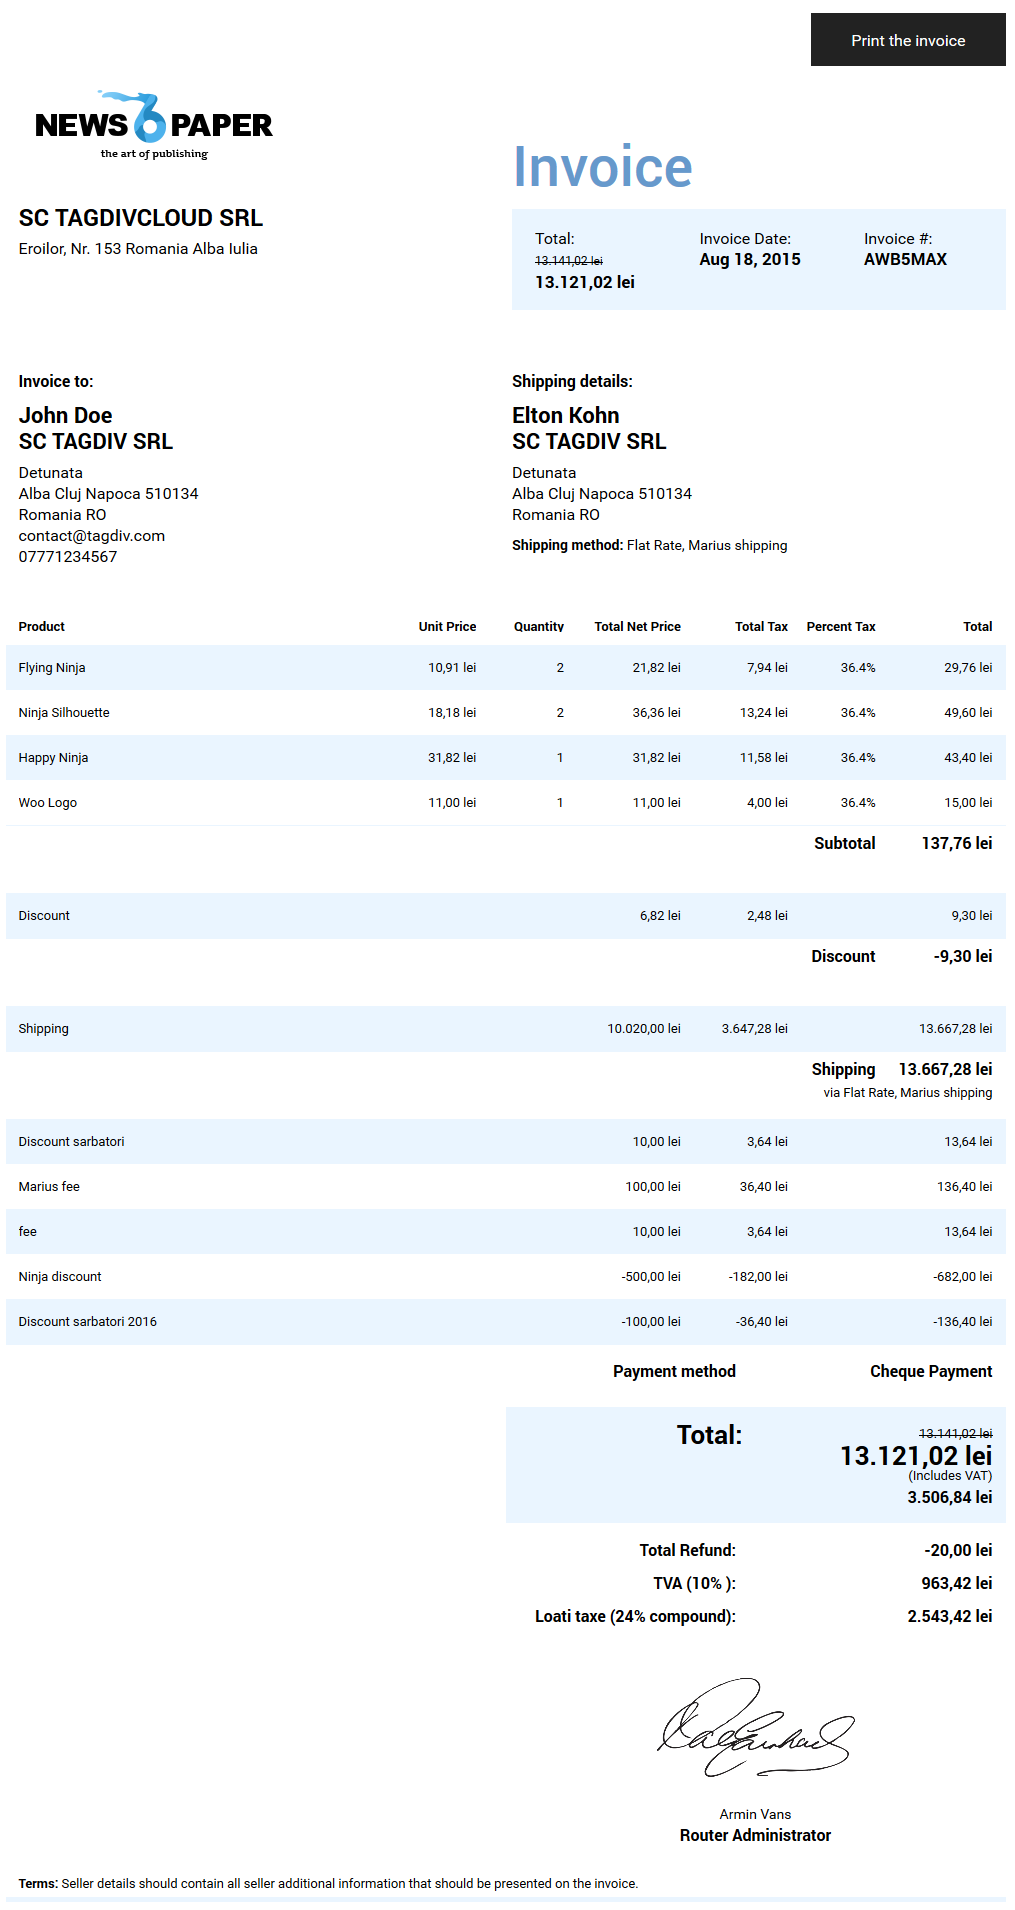
We have thought for you a first template format that looks like this, and hope you’ll enjoy it, even it will need some adjustments in accordance with your country law.
An example of an invoice should look like this
Okay! Now, let’s see how you can customize every section of your invoice. As we have already told you, the tagDiv Invoice plugin is accessible from the WooCommerce tagDiv Plugins section. Going there you’ll see all tagDiv installed plugins, one of them being the Invoice plugin having the following sections
- Settings – the most important invoice settings
- Content – the custom content like logo and signature image, seller information, etc.
- Localization – the translated fields
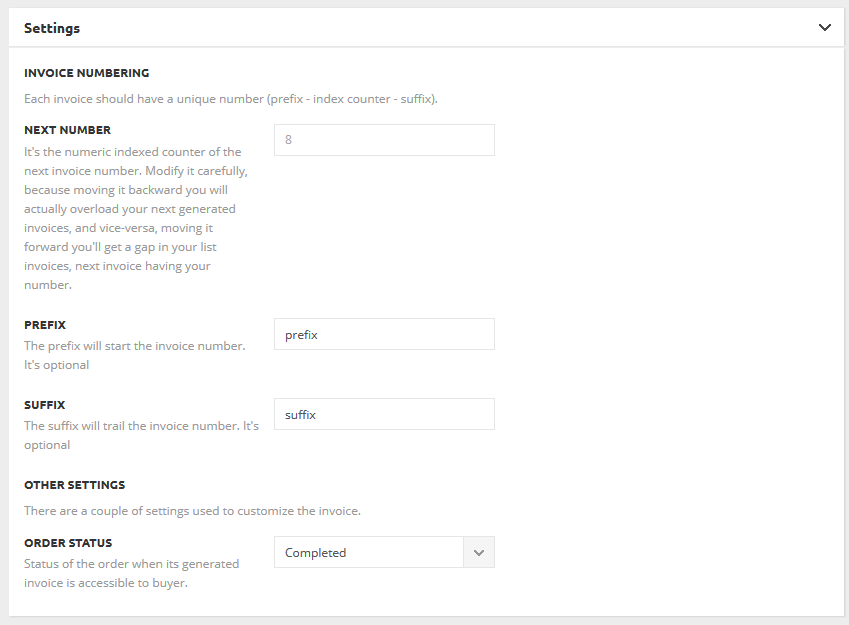
1. The Settings section
- invoice next generated number – for eligible invoice numbering it must be an integer, the plugin getting the next invoice number with this value incremented.
- prefix invoice number – the invoice prefix text (optional)
- suffix invoice number – the invoice suffix text (optional)
- order status – the status of the order when a generated invoice is available to the customer into the MyAccount section. Default it’s set for ‘order completed’, but you can customize it as you wish.
The invoice number will be in the following format:
PREFIX – the next incremented number + SUFFIX
2. The Content section
- seller logo image – personalize your image logo
- seller name – usually the company name
- seller details – the additional seller information like address, uniquer company identifier, etc
- signature name – the representative person name whose signature will apply on the invoice
- signature account – the person company position
- signature image – the person image signature
- terms – additional terms that should appear at the bottom of the invoice

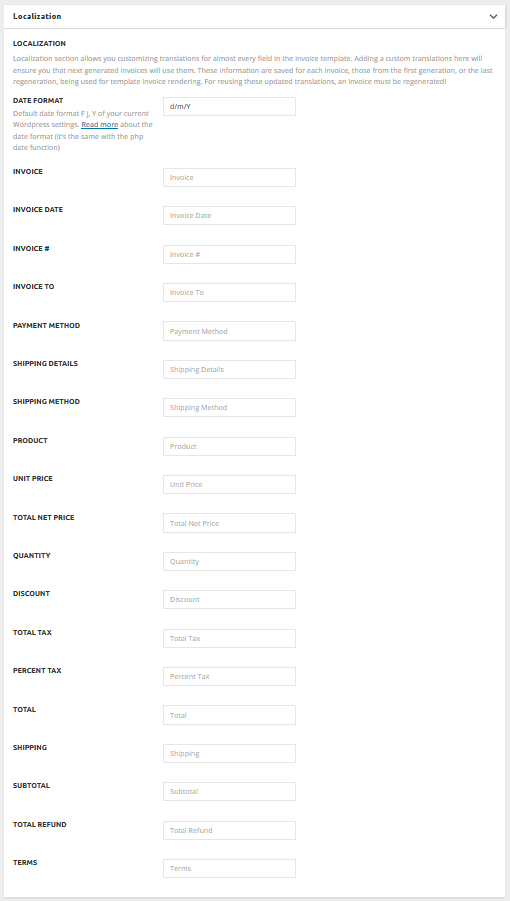
3. The Localization section
Every field has a default value, if you don’t set one, that will be used into the invoice template. A special field is the date format where you can set how your invoice will keep the date, as you usually use in your country.
Have a look over this section
Customizing the invoice template
Once an invoice is generated, it’s ready to be printed using Print the invoice button from the invoice template.
For more information about how you can customize the invoice template, you need to look over the template file and the order data that’s prepared for it.
So, go to the ../td-woo-invoice/templates/ and open the template.php file. Here’s the template structure. Maybe it looks a little scary for beginners, but with a little effort the template can be modified as you need, it having everything inside: the css style, the html structure and the php data.
There’s a section for every part of the invoice, commented, so you could go there and start modifying it.
The php data is from a global $invoice_settings php variable. The data are already saved as meta info with the invoice custom post type, when the invoice was generated/regenerated. We tried to put there almost all information that WooCommerce supplies for the current order, the plugin panel settings, date format, etc
For debugging or if you need supplementary information in the invoice, please have a look over this global variable to see its contents. You should extract data as you can see that’s already done in the invoice template.
Modifying the invoice numbers
Remember that an invoice custom post type has its own meta info where the original generated invoice number and the invoice date are maintained. They are also preserved when the invoice is regenerated.
If you need a new invoice to be generated, using the next invoice queued number that can be seen in the plugin panel, delete the ‘td_invoice’ order custom field. Be sure to modify the next invoice number from the plugin panel before invoice generation, if you need a custom number for the invoice.
It’s up to you to modify the next invoice number, to avoid situations when there will be gaps in the sequence, or the opposite situation when the invoice numbers overlaps.