
Guide on how to install and configure the WP Super Cache plugin
A cache plugin generates static pages and improves the site page speed. The cached pages are stored in the memory. When a user makes a request, the process skips the PHP execution and the database requests and delivers the pages from the cache.
WP Super Cache Plugin installation:
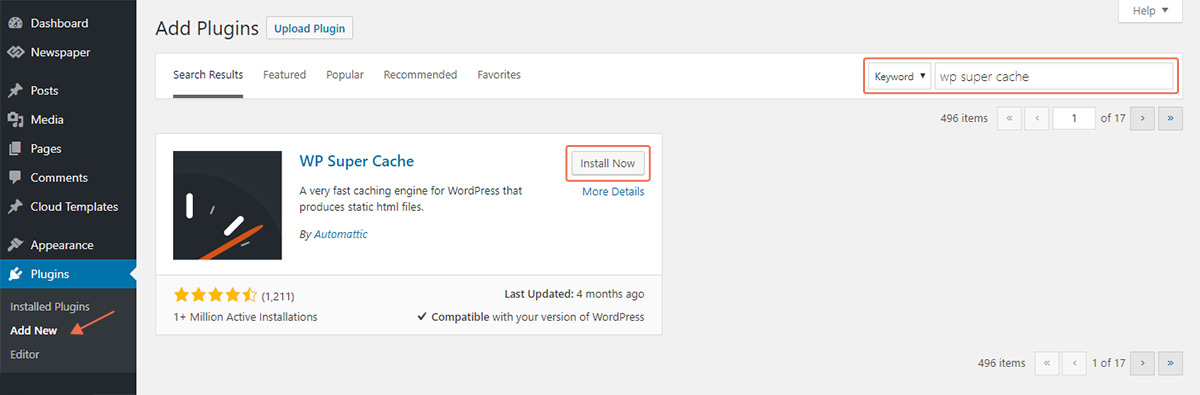
- Go to WP-Admin area, open the Plugins -> Add new section. Press on the Upload Plugin
- Use the search bar to look for WP Super Cache and install the plugin.
WP Super Cache Plugin configuration:
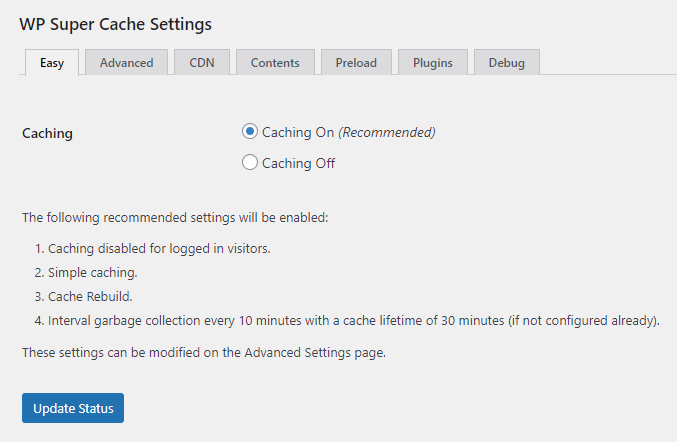
To set up the plugin, you have to go to the wp-admin area and open the plugin settings pane. It’s located in Setting > WP Super Cache. We tested this plugin, and we recommend the following configuration:
Easy
- Caching On (Recommended)
Advanced – enable the following options:
Caching:
- Enable caching. (Recommended)
- Caching delivery method. Simple.
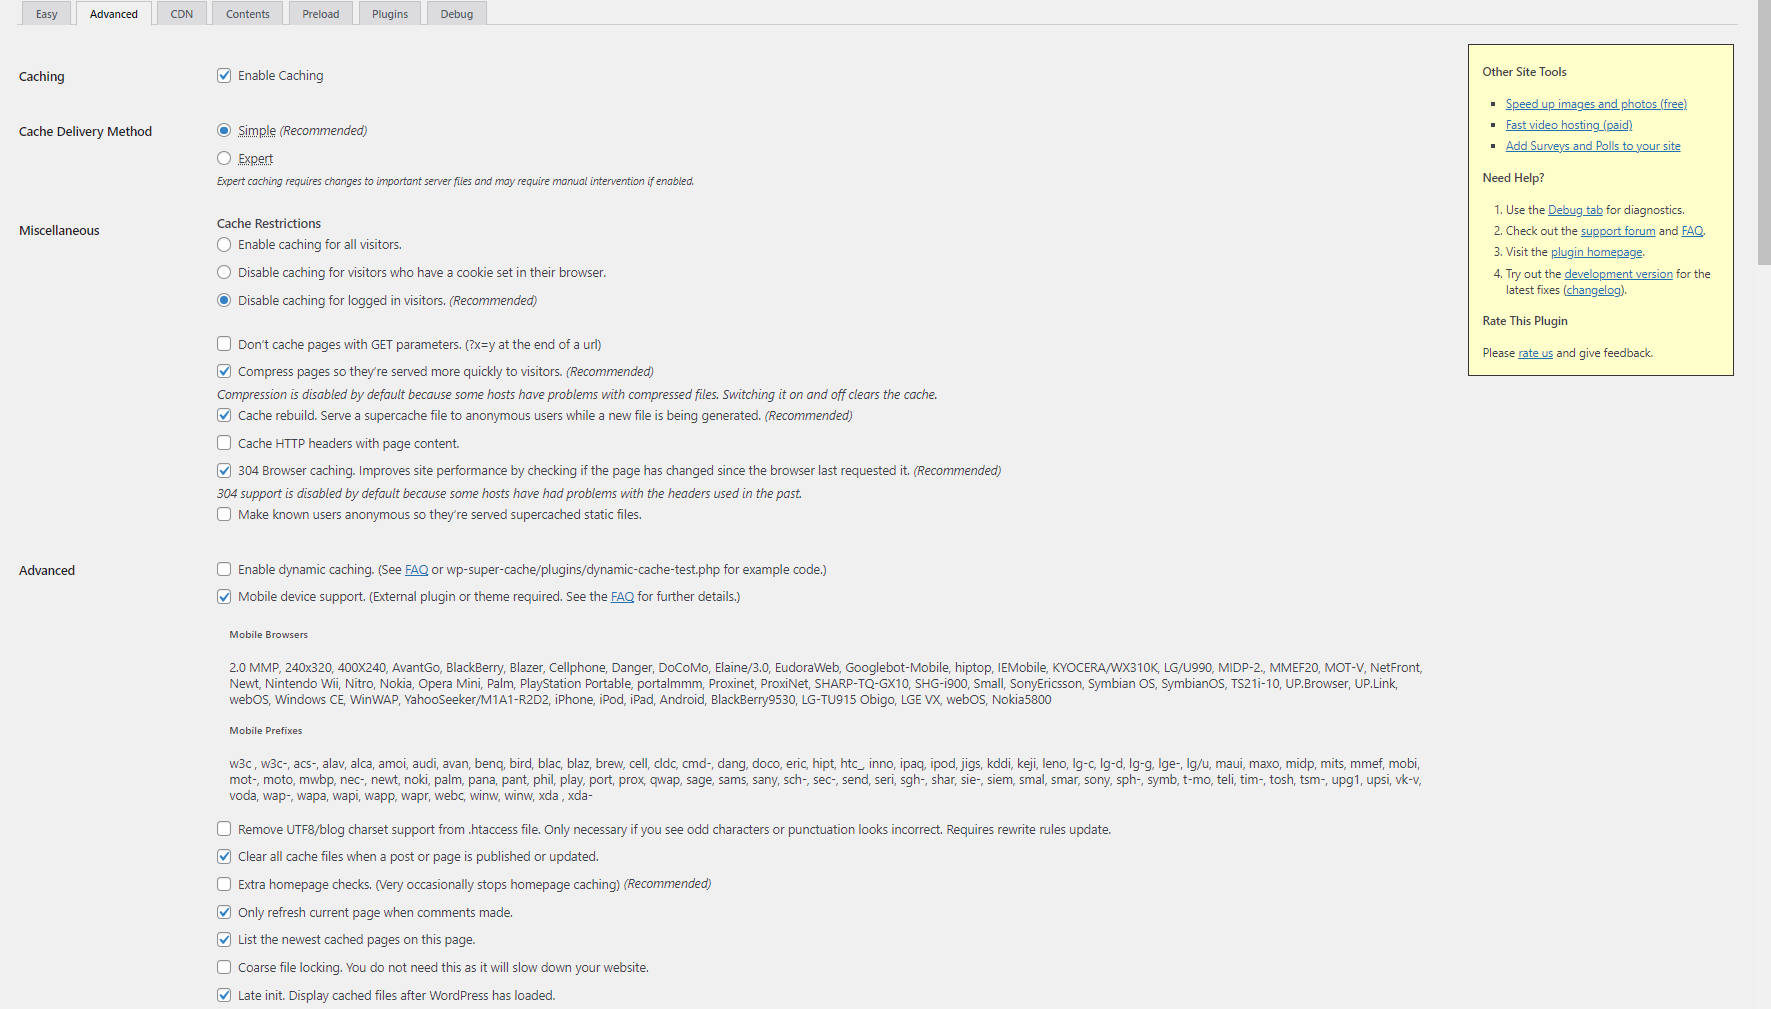 Miscellaneous:
- Disable caching for logged in visitors. (Recommended);
- Compress pages, so they’re served more quickly to visitors. (Recommended);
- Cache rebuild. Serve a supercache file to anonymous users while a new file is being generated. (Recommended);
- 304 Browser caching. Improves site performance by checking if the page has changed since the browser last requested it. (Recommended).
Advanced:
- Mobile device support. (External plugin or theme required. See the FAQ for further details.) – *required option especially if you use tagdiv Mobile Theme plugin or you have created mobile templates;
- Clear all cache files when a post or page is published or updated;
- Only refresh current page when comments made;
- List the newest cached pages on this page;
- Late init. Display cached files after WordPress has loaded – *required option especially if you use tagdiv Mobile Theme plugin or you have created mobile templates.
Preloading:
You can generate cached files for the posts, categories and tags of your site by preloading. It is up to you if you enable Preload Mode, so please read the official documentation.