A credit subscription system typically involves a service where customers gain access to the specific post’s content (CPT or article) in exchange for credits. The credits are acquired through a subscription plan and can be used to access specific content.
Here’s how the credit subscription system works:
Subscription Plan Selection: Customers choose a subscription plan based on their needs and preferences. These plans may offer different levels of access or features, with corresponding pricing tiers.
Credit Allocation: Upon subscribing, customers receive a certain number of credits based on the subscription plan they’ve chosen. These credits can be used to unlock or access specific content.
Credit Usage: Customers can then use their credits to access the content.
Credit Management: Customers can monitor their credit balance and track their usage.
The credit subscription system can help businesses maintain a steady revenue stream while offering incentives for customer loyalty through credit accumulation and usage.
NOTE! The tagDiv Opt-In Builder plugin is required for the credit system.
Credits Settings
Go to the Opt-in builder -> Subscriptions -> Settings.
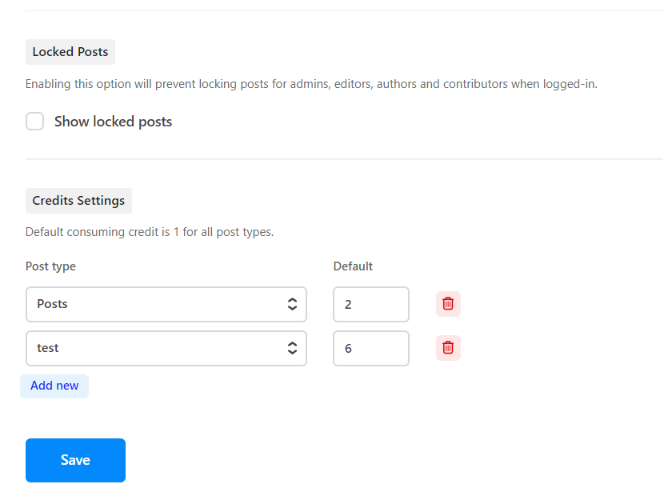
The default consumption credit is 1 for all post types.
Admin can manage the post type and the default credit for posts or CPTs.
Credit Plan Settings
Go to the Opt-in builder -> Plans.
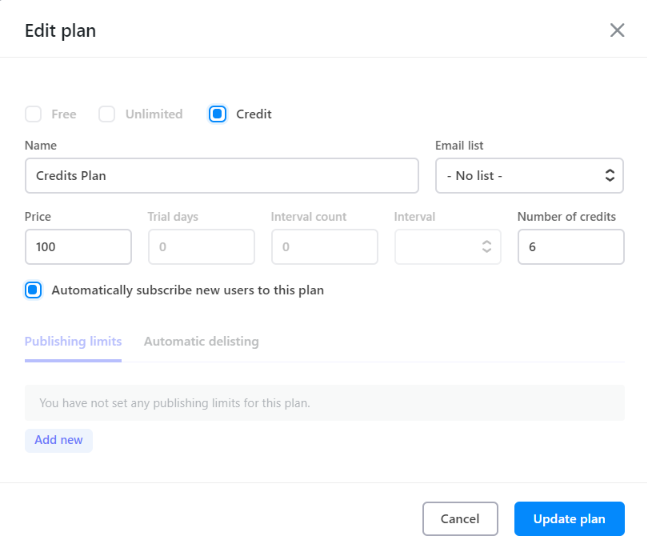
Create a new plan and choose the credit option.
Complete the fields in your plan and specify the number of credits. This number represents the number of credits the user will earn when he subscribes to this plan. The user can subscribe to this plan again and again to earn this number of credits. The subscription plan is a one-time payment.
The “Automatically subscribe new users to this plan” option will automatically activate the plan for the new users and give the number of credits set on the plan.
Update plan.
Credit Locker Settings
Go to the Opt-in builder -> Lockers.
Add new credit locker.
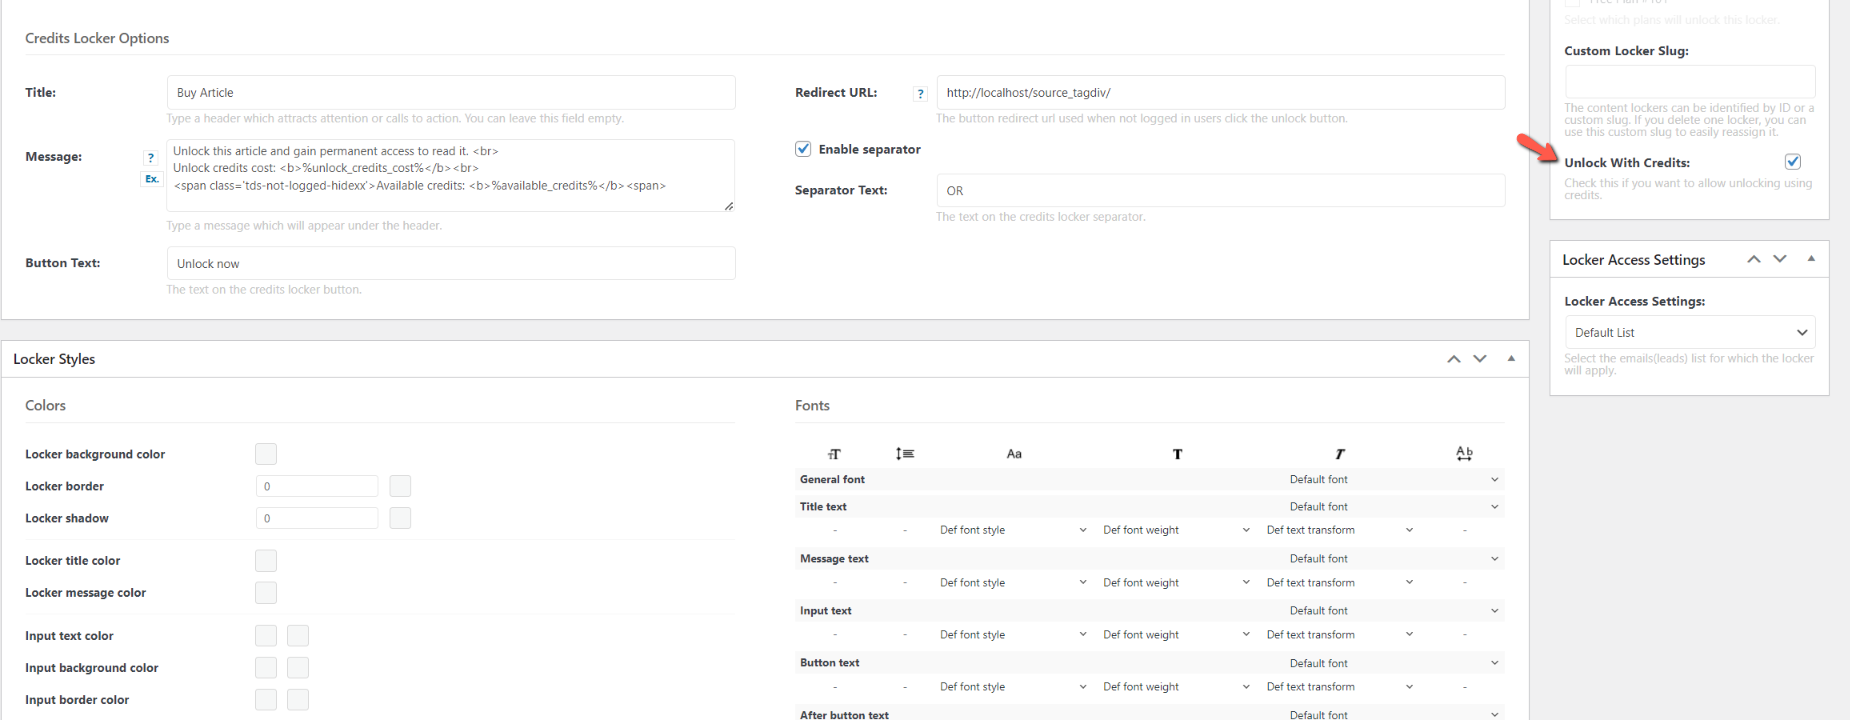
Set up the credit locker in the section called Credits Locker Options. This locker is used to unlock content and gain permanent access to read it. Message field: The following placeholders are available:
%unlock_credits_cost% – will be replaced in the locker’s message with the number of credits needed to unlock the locked post.
%available_credits% – will be replaced in the locker’s message with the number of current user’s available credits.
HTML elements with class ‘tds-not-logged-hide’ can be used to display info just for logged-in users.
Style the credit locker in the section called Locker Styles, and you can see the preview at the bottom of this section.
In the right part is an option called “Unlock With Credits” that allows unlocking using credits, which needs to be checked.
NOTE: The Locked Posts option from the Credit Plan Settings section will prevent locking posts for admins, editors, authors, and contributors when logged in.
Credit Post Settings
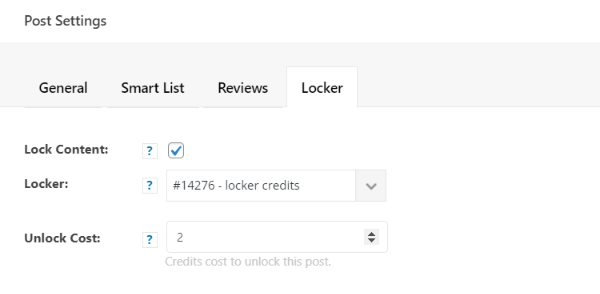
Edit an article with Gutenberg. Go to Post Settings -> Locker, check the lock content, and choose from that dropdown the credit locker created.
Set up the credit cost to unlock the article’s content. If the field is empty, then it will take the default credit set from the Credits Settings section. If the admin did not set any default credit, then the default credit will be 1.
NOTE! For CPTs, you should enable the Opt-in Builder locker in order for it to appear when you edit a CPT with Gutenberg. The option could be found in the Newspaper -> Theme Panel -> CPT & TAXONOMY.
Credit Management Settings
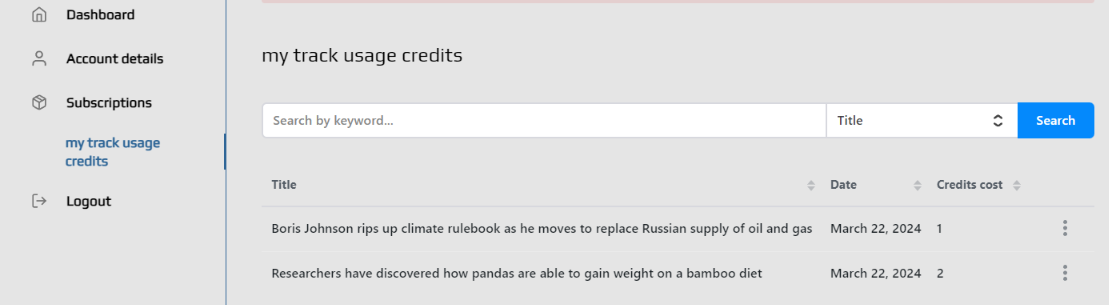
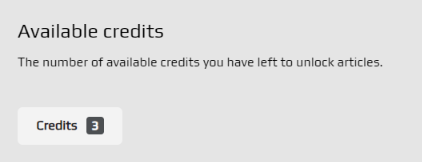
In the My Account – Opt-In Builder page -> Dashboard will appear automatically a counter that shows the available credits you have left to unlock articles.
Edit the My Account—Opt-In Builder page with the tagdiv composer. Click on the Page account -> Custom pages and add a new page (my track usage), which has the Posts List shortcode as well.
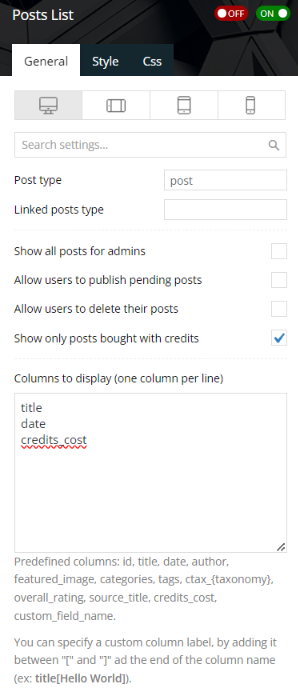
In the Posts List shortcode is the setting called “Show only posts bought with credits” When this setting is enabled, the logged in user can see the list of the bought posts on the new page created previously.
In the Posts List shortcode, you can specify to display the number of credits used when you bought the article. This setting is right below the option “Show only posts bought with credits”, called “Columns to display (one column per line)” and “credits_cost”. So, in the list with the bought posts, the user can also see how many credits he spent on each article.
NOTE! Admins can change the default number of credits or the number of credits on each post anytime. But on the posts list will appear the number of credits spent at the time the user bought the post with credits.