
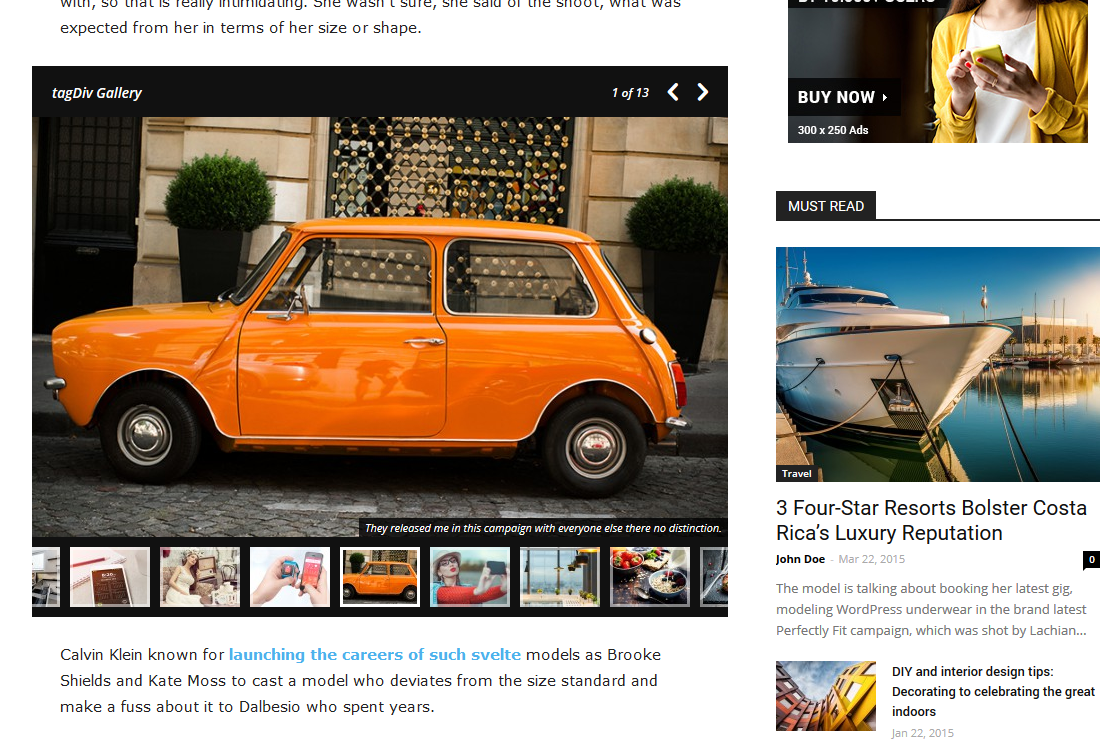
With a unique design and the lightbox feature integrated, this amazing slide gallery was built to enhance your articles’ value. It can accommodate different aspect ratio and each image displays a description and the copyright information.
VERY IMPORTANT! Please make sure you enable the thumbnails used by the tagDiv Slide Gallery.
- Go to Theme Panel -> Block Settings -> Thumbs on modules & blocks and enable 80 x 60 and 0 x 420
How to Create an Image Slide Gallery
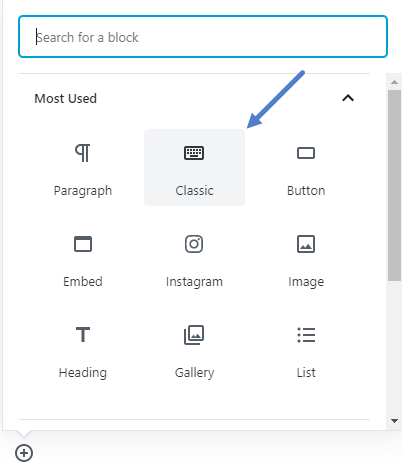
- Step 1 – Place a new classic element on your post using the Gutenberg editor.
- Step 2 – Press the Add Media button

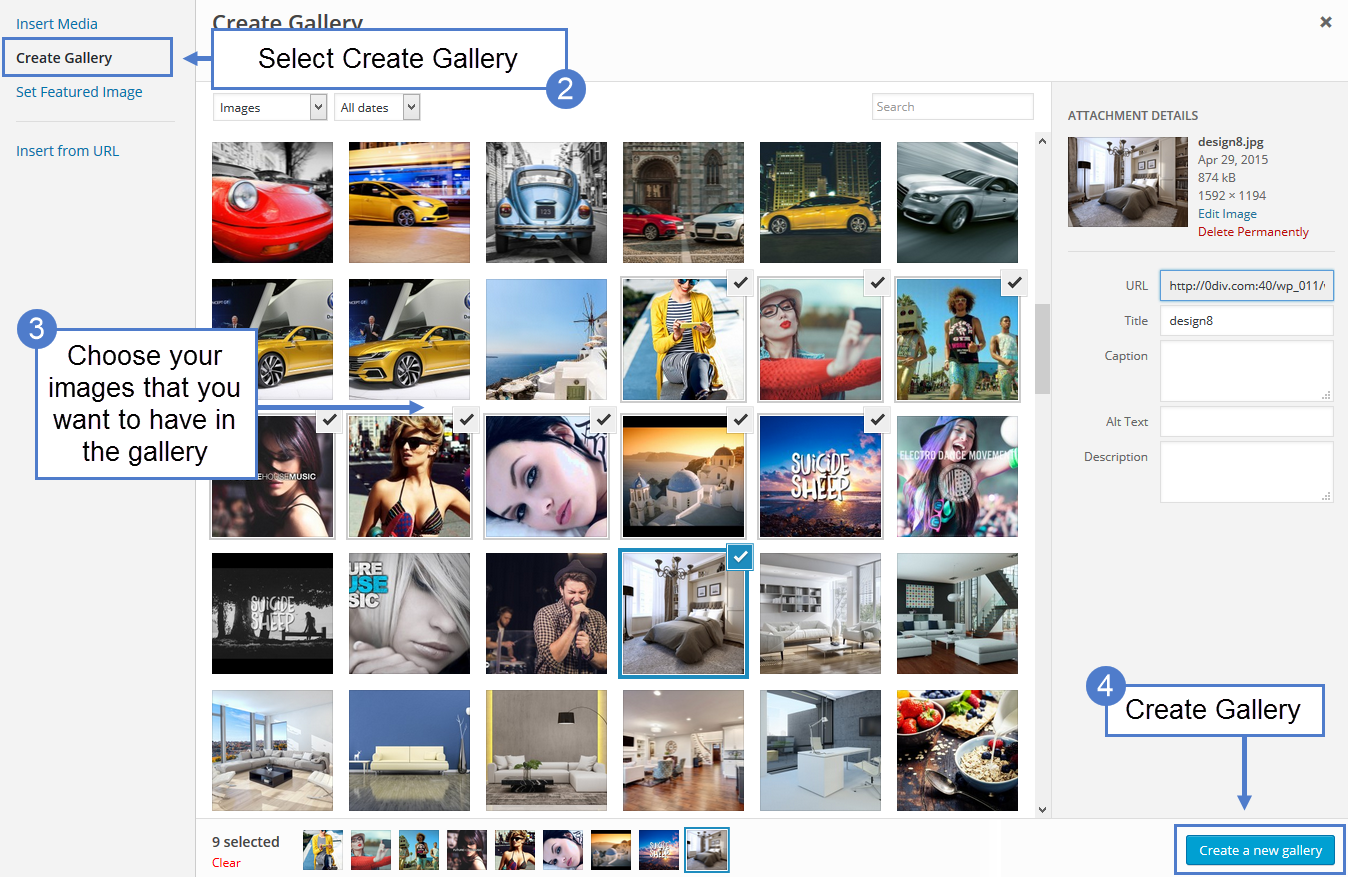
- Step 3 – From the Media page click the Create Gallery link.
- Step 4 – Select the images that will be displayed in this gallery.
- Step 5 – Click the Create a new gallery button
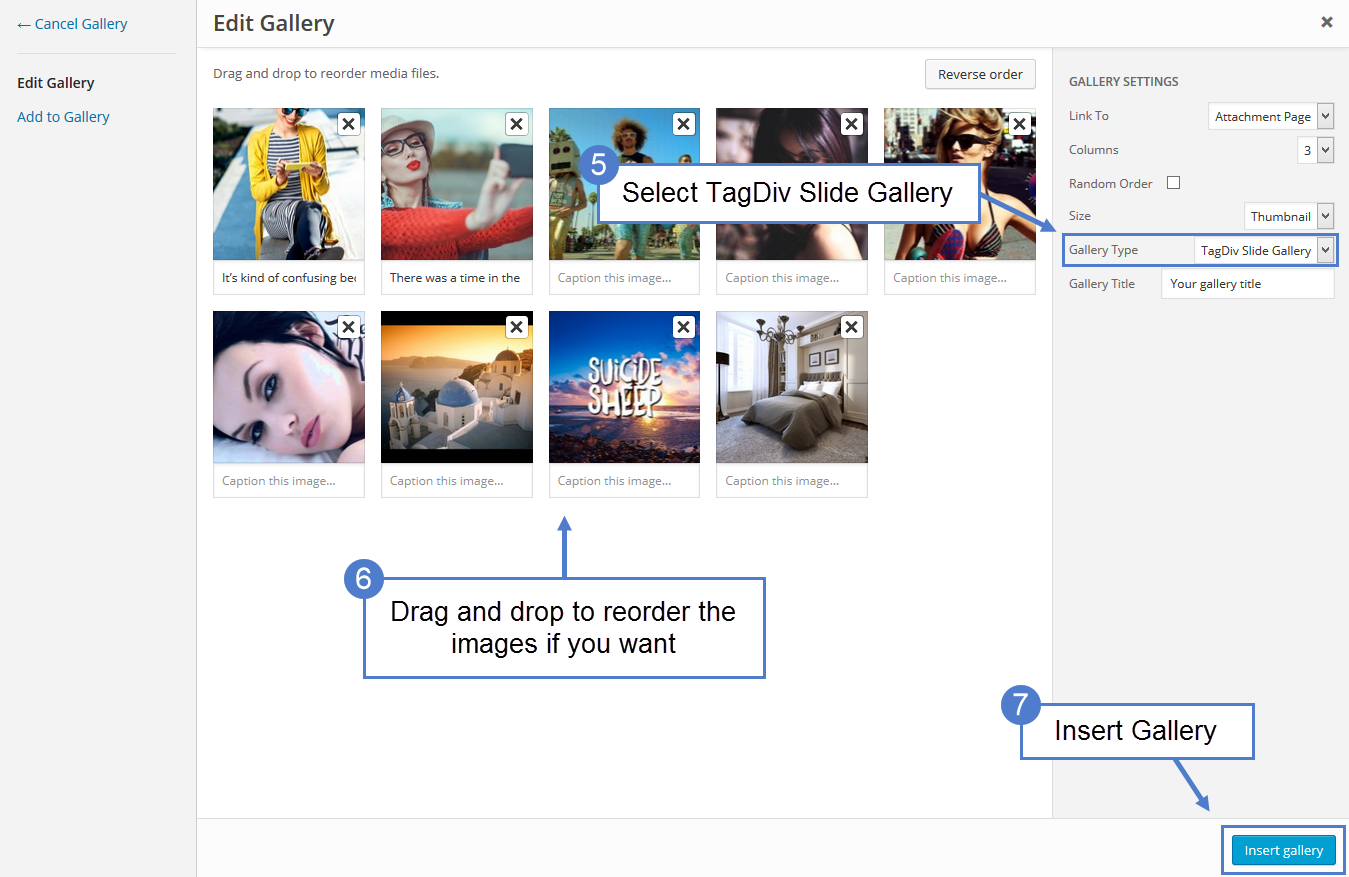
- Step 5 – From the Gallery Type drop-down select TagDiv Slide Gallery
- Step 6 – Drag and drop to reorder the images if you want.
- Step 7 – Press Insert Gallery button.
- Step 8 – If you want to edit the gallery click on the Pencil Icon
- Step 9 – Press Publish/Update button.
Now, your Gallery should look like this:
VERY IMPORTANT! You can add the tagDiv Slide Gallery in a cloud template by using the element called “Column text” or “Text with title”! The steps are the same beginning with “Step 2 – Press the Add Media button” how it is presented above.