
Easily display Brands on your WooCommerce shop with images. This new and exciting capability helps you create a great user experience by allowing visitors to notice the brands that are present in your shop and also to filter products by a specific brand.
Install the tagdiv Shop and WooCommerce plugins.
How to create the attribute Brands
Step 1 – Access your product attributes, add new attribute and set the type as Image.
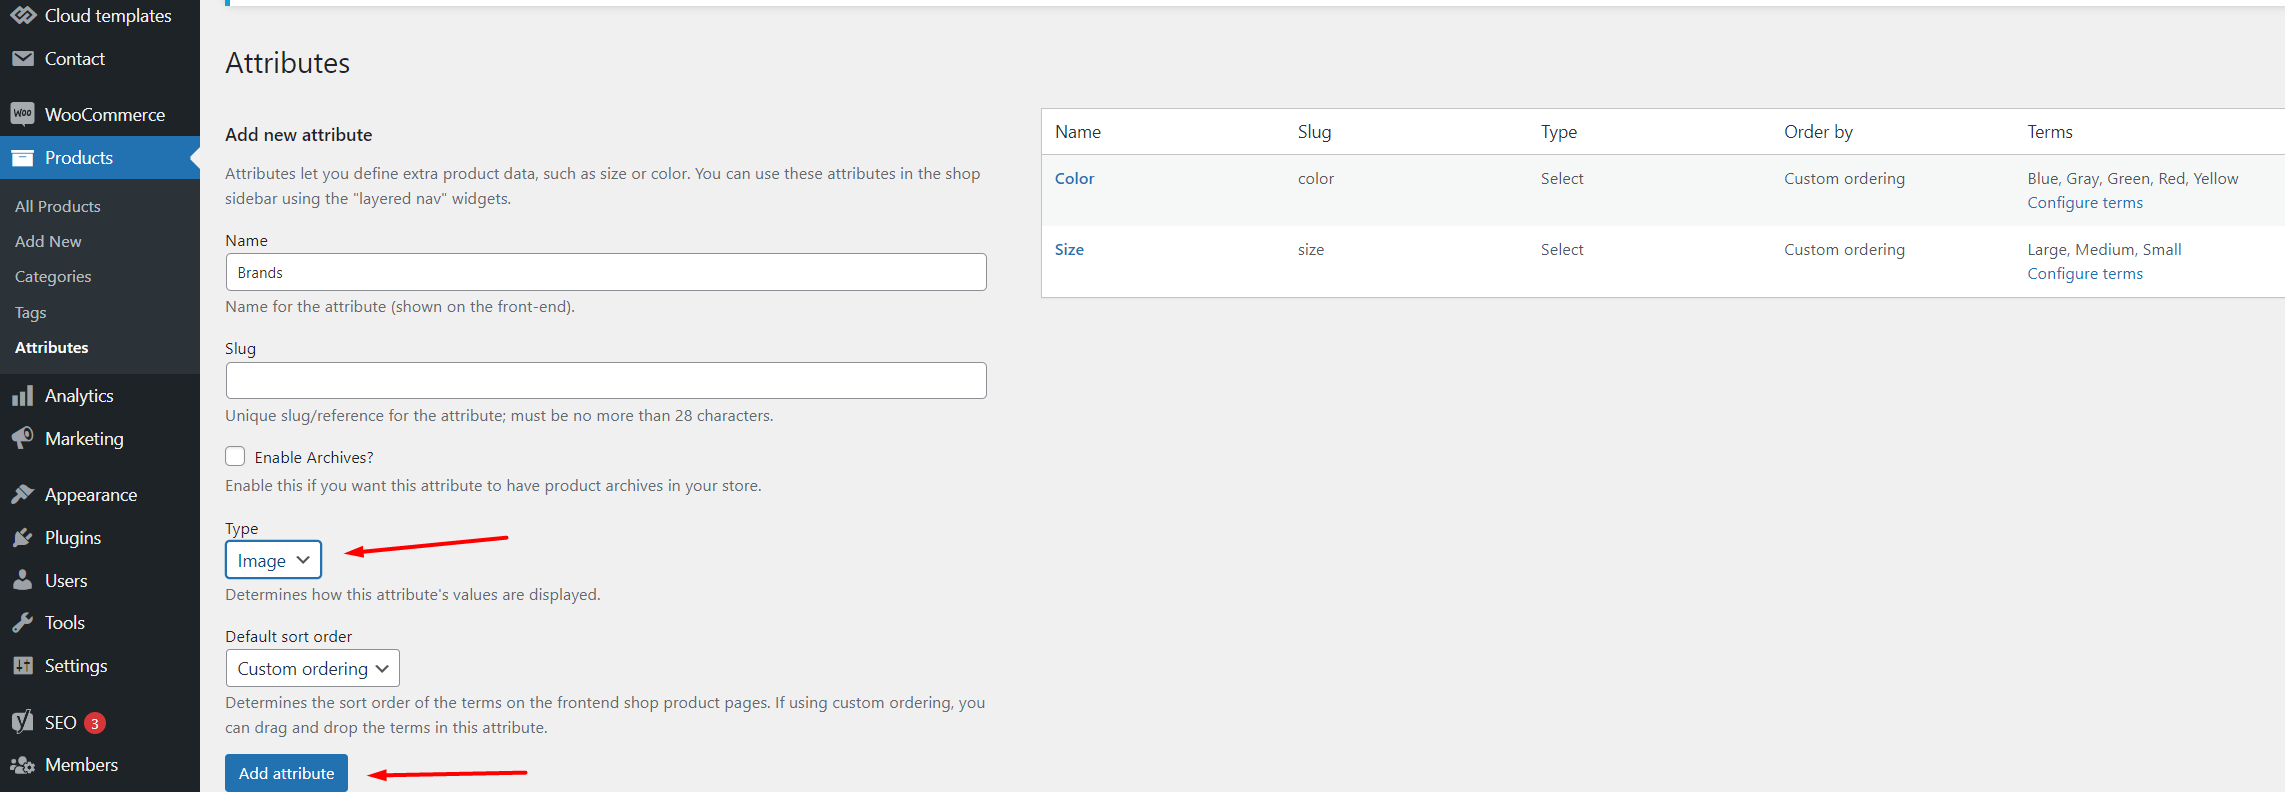
The new attribute can be seen in the table from the right side.
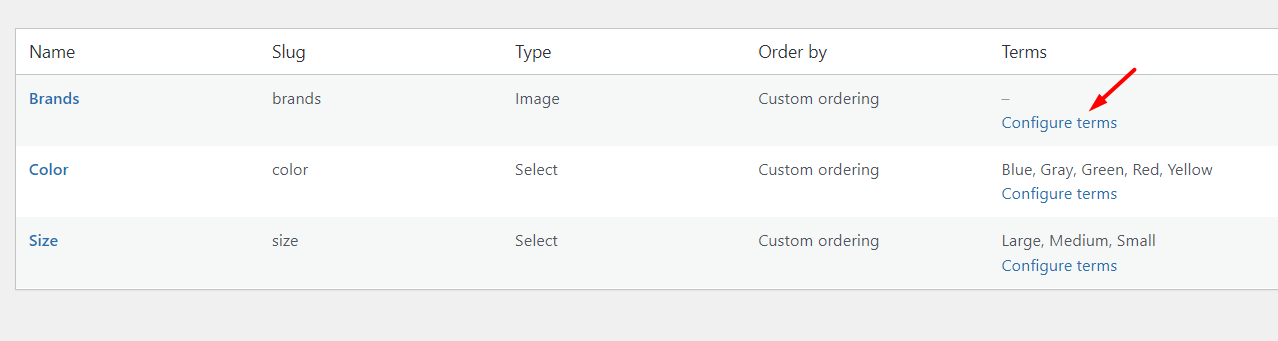
Step 2 – Configure the brand terms: press the button Configure terms to add new terms for the attribute Brands
Step 3 – Add how many brands you’ll like and upload different images for your terms.
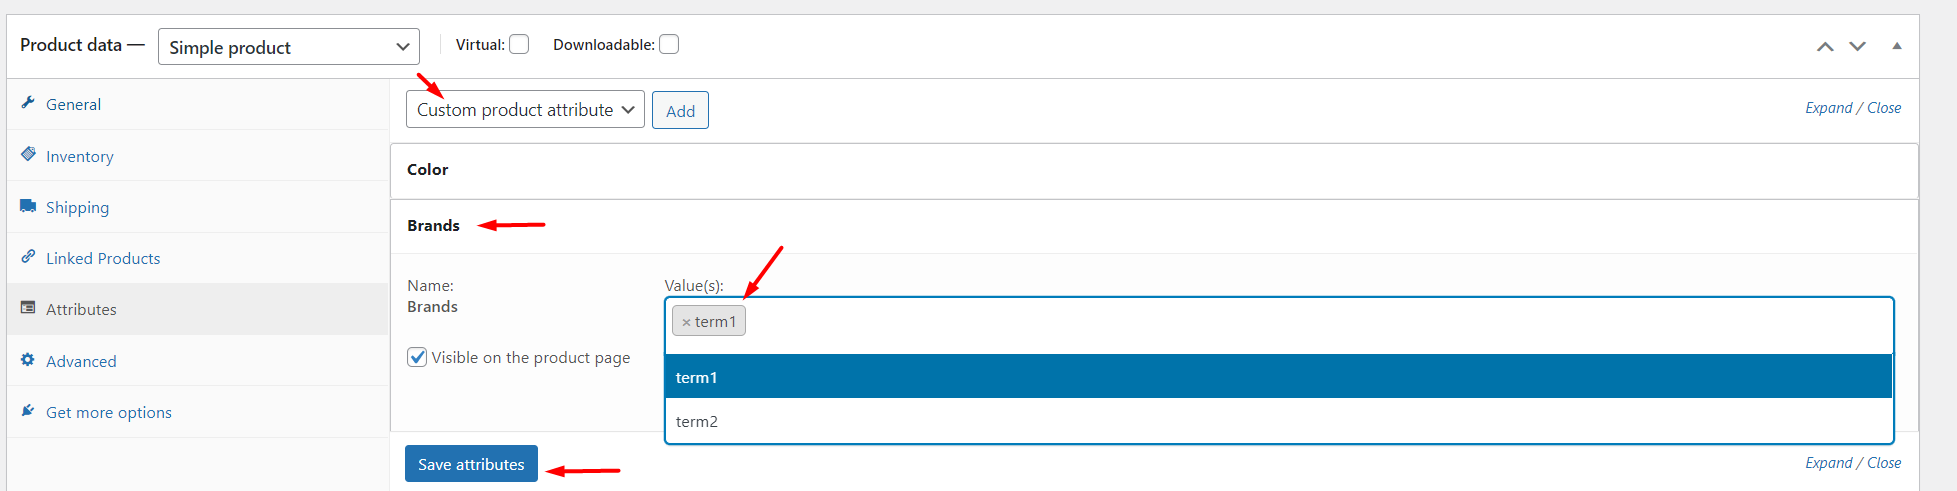
Step 4 – Assign the brands to your products: Access Products – > All Products -> Edit a product from your list and you’ll find the settings in the bottom of the page in order to assign the brand.
How to Use the attribute Brands
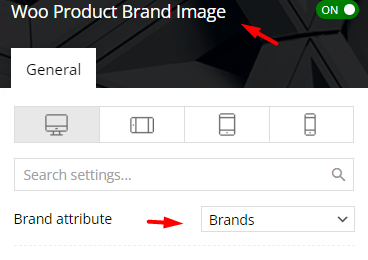
Step 1 – View the product and edit it with the TagDiv Composer, add the Woo Product Brand Image element and set the attribute Brands.

Step 2 – Filter your products by the Brands attribute using the Woo Attribute Filters element from the TagDiv Composer.